Moving a website involves more than copying files and changing a domain record. The site may depend on email, forms, scheduled jobs, external APIs, payment providers, DNS records and search indexing. Careful preparation can make the transition almost invisible. Without a plan, migrations cause missing orders, errors, duplicate content or a drop in organic traffic.
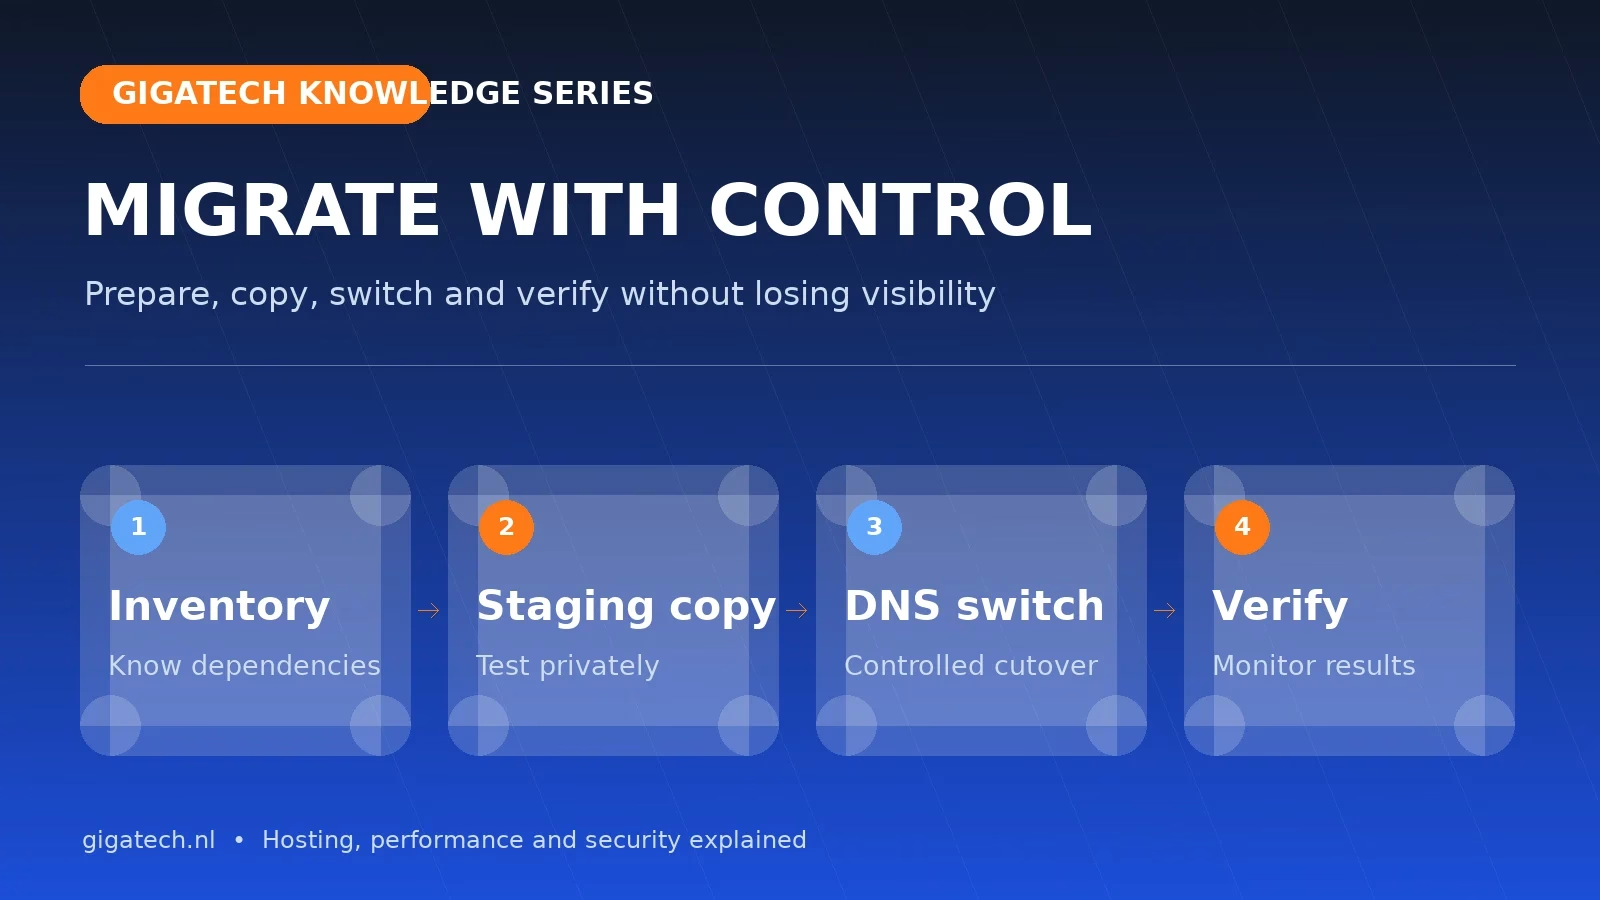
Start with a complete inventory
Record every domain and subdomain, the DNS zone, mailboxes, databases, PHP version, scheduled jobs, SSL certificates, redirects and external integrations. Check how much storage is genuinely used and whether large archives or old backups should be left behind. A migration is a useful time to remove unnecessary baggage.
Create a staging copy first
Copy files and the database into the new environment and test through a temporary address or local hosts entry. Keep staging out of search engines with authentication or a clear noindex directive. Test sign-in, forms, email, images, permalinks, basket behaviour, payments and background tasks.
The new environment may use different PHP versions, modules or security rules. Resolve compatibility issues before the public cutover, not during the busiest hour.
Lower the DNS TTL in advance
TTL defines how long resolvers may cache a DNS answer. Lower the relevant values a day before migration so the final change is adopted more quickly. Not every cache follows the value immediately, so expect a transition period in which visitors may reach either server.
Plan the final synchronisation
For a static website, the first copy may be enough. A shop, forum or membership site keeps changing. Plan a short content freeze or maintenance window, perform a final database and uploads sync, and then switch DNS. This prevents orders or comments from remaining only on the old server.
Protect SEO signals
If only the hosting changes, URLs should remain the same. Verify canonicals, robots.txt, XML sitemaps and status codes. If the structure or domain also changes, create a one-to-one redirect map using permanent 301 redirects. Do not send every old URL to the homepage; that removes relevance and hides mistakes.
- Preserve page titles, metadata and main content where possible.
- Update internal links, structured data and hreflang.
- Submit the new sitemap in Search Console.
- Monitor 404s, redirect chains and indexability after launch.
Do not forget email and DNS security
A migration can affect MX, SPF, DKIM and DMARC records. Copy the complete DNS zone deliberately and identify exactly which records must change. Test incoming and outgoing mail separately. Update SPF only when a new server will genuinely send email.
Detailed runbook: from preparation to 72 hours after launch
Phase 1 — seven to fourteen days before migration
- Define scope. List the website, subdomains, mailboxes, databases, DNS records, scheduled jobs and external services that will move. State clearly what will not change.
- Assign responsibilities. Decide who performs the cutover, who runs functional tests, who communicates with users and who can authorise a rollback.
- Select a migration window. Use visitor and order statistics to choose a quiet period. Reserve more time before and after the expected change.
- Create a baseline. Record TTFB, loading performance, Core Web Vitals, active plugins, PHP version, database size, file count and key conversions. Capture critical settings.
- Lower DNS TTL. Temporarily reduce only the records that will change, for example to 300 seconds. Do this early enough for the previous TTL to expire.
- Verify access. Test SSH/SFTP, cPanel, the database, domain control, CDN, payment provider and Search Console before the migration window.
Phase 2 — create a demonstrably complete source backup
Before changing anything, create a complete copy of files and database. Record the time, size and storage location. Confirm that the archive opens and that the database export finishes without errors. Keep this recovery copy outside both the old and new production servers.
- Exclude cache directories, temporary sessions and obsolete local backups when they are not needed.
- Include hidden files such as
.htaccessand relevant configuration. - Export the database with the correct character set and check tables for errors.
- Record checksums or at least file counts and total size so source and destination can be compared.
Phase 3 — build and secure the destination
Create the account structure, database user and PHP configuration. Enable SSL, firewall rules, malware detection, backups and monitoring before the site becomes public. Do not copy every legacy setting blindly; check whether the destination expects a modern PHP version or a safer default.
Import files and database. Perform domain or path replacement with a tool that understands serialised WordPress data; ordinary text replacement can damage widgets and plugin settings. Verify ownership, permissions, uploads and database connectivity.
Phase 4 — test staging systematically
Use a local hosts entry or protected staging hostname so public DNS continues to reach the old server. Work from a checklist and mark every item as passed, failed or not applicable.
- Homepage, important landing pages, site search and the 404 page.
- WordPress sign-in, roles, password reset and protected administrator actions.
- Contact, quotation and newsletter forms, including email receipt.
- WooCommerce product, stock, basket, voucher, checkout, payment, order email and webhook.
- Images, downloads, PDFs, video embeds and large media files.
- Permalinks, redirects, canonicals, hreflang, structured data, robots.txt and XML sitemap.
- Cron jobs, imports, exports, APIs, licences and external IP allow lists.
- Page cache, Redis object cache, sessions and exclusions for account and checkout pages.
- Mobile, desktop and at least two browsers.
Phase 5 — prepare the rollback plan
A rollback is not a failure but a designed safety mechanism. Document which DNS records must be restored, how new transactions will be preserved and until what point switching back remains safe. Define concrete triggers such as failed payments, missing data, severe 5xx errors or an email fault that cannot be resolved in the window.
Phase 6 — final synchronisation and cutover
- Place the site briefly in maintenance mode when necessary, or freeze only changes that cannot be synchronised later.
- Record the latest order, user or content ID on the source.
- Create a fresh database export and synchronise uploads changed since staging was created.
- Import the final database, clear caches and run a short smoke test on the destination.
- Change A/AAAA or relevant CNAME records. Leave MX records untouched unless email is deliberately moving.
- Check the returned IP through several resolvers and test the site against both old and new IP addresses.
- Remove maintenance mode only when the database, forms, login and primary conversion path work on the destination.
Phase 7 — the first two hours
Watch live error logs, PHP errors, firewall events, CPU, memory and database load. Repeat form and transaction tests from an ordinary internet connection. Confirm that new orders, accounts and uploads arrive only on the destination. Compare the last source ID with the first new transactions to rule out a data gap.
Phase 8 — after 24 and 72 hours
- Review Search Console, 404 reports, sitemap processing and crawl problems.
- Compare organic traffic, conversions, response times and errors with the baseline.
- Verify SPF, DKIM, DMARC, reverse DNS and delivery of website-generated email.
- Return DNS TTL to its normal value when the platform is stable.
- Create a new full backup of the working destination and perform a small restore test.
- Remove the source only after the agreed retention period and securely erase sensitive data.
Verify after the cutover
Test from several networks, inspect the certificate, review server logs and monitor errors, response time and important conversions. Keep the old environment intact and read-only until every data source has been confirmed. Then create a fresh backup of the working production site.
A good migration is boring — and that is a compliment
The goal is not a dramatic overnight operation but a predictable transition with a rollback plan. Document who makes the decision, how to switch back and how long that option remains available. With preparation, even a complex WordPress site can move in a controlled way.
Would you like to move your website to Gigatech? Explore our WordPress hosting or contact Support before the migration so we can identify dependencies and choose a suitable cutover window.